

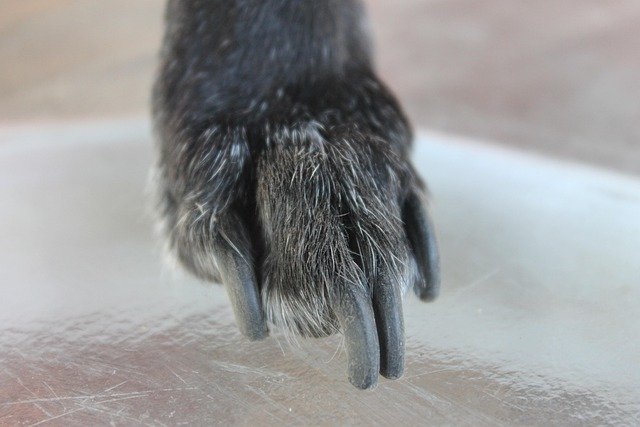
If your dog hides, wriggles, or growls the moment the clippers come out, you’re far from alone. Nail trims are a common handling struggle for owners and dogs alike. The good news is that fear of nail trims is learned, which means it can be unlearned with patient, step-by-step practice.
This guide walks through a gradual desensitization plan based on advice from veterinary behavior specialists at VCA Animal Hospitals, plus the basics of a safe trim once your dog is comfortable.
What I find encouraging about this topic is how much a few short minutes a week can change. You don’t need a training background, just patience.
Why So Many Dogs Hate Nail Trims
Most dogs aren’t born afraid of nail clippers. The fear usually builds from a few bad experiences: being held down, a nail cut too short, or a trim rushed through in one go. Paws are also sensitive, and many dogs simply aren’t used to having their feet handled.
VCA’s guidance, written by a team that includes board-certified veterinary behaviorist Ellen Lindell, VMD, DACVB, notes that a dog without prior fear may need only a session or two of preparation. A dog with existing fear may need weeks or months. Knowing that up front helps you settle in for the long game.
I’ll admit the timeline was the part that reset my expectations. It’s tempting to want it fixed by Saturday, but rushing is exactly how the fear started.
Know the Stress Signals Before You Start
The single most useful skill here is spotting when your dog is uncomfortable, so you can stop before fear grows. VCA lists these signs:
- Not coming closer, moving away, or leaning away
- Looking away
- Yawning
- Shaking off when not wet
- Ears folded back
- Tucked tail
If you see these, end the session on an easy step. Pushing through teaches your dog that their signals don’t work, which can escalate to growling or snapping.
The Step-by-Step Desensitization Plan
Short sessions, a few days a week, with a tiny treat for every small step.
VCA recommends keeping sessions short (just a minute or two) and practicing a few days a week. Move to the next step only when your dog is relaxed and happy at the current one.
| Step | What you do | Move on when |
|---|---|---|
| 1 | Touch your dog’s shoulder, then glide your hand down the leg. Treat. | Your dog stays relaxed or leans in |
| 2 | Hold the paw briefly, then individual toes. Treat. | No pulling away |
| 3 | Show the clipper or grinder, let your dog sniff it. Treat. | Your dog looks at the tool calmly |
| 4 | Touch the tool to a nail without cutting. For a grinder, turn it on nearby first. Treat. | Calm with tool contact or sound |
| 5 | Trim the very tip of one nail. Big treat, then stop. | Your dog stays relaxed |
| 6 | Gradually add more nails per session. | All four paws over several sessions |
The AKC describes a similar gradual introduction over about a week for dogs without existing fear: sniffing the tools, paw touches, hearing the clipper, then one nail before adding more.
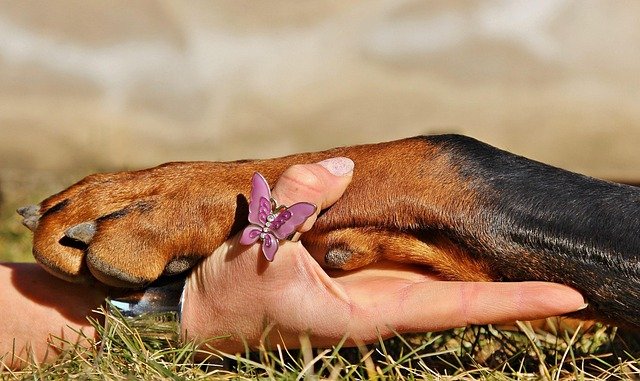
Comfortable paw handling comes first. The clippers come much later.
Rewards that help (and one that may backfire)
VCA suggests pairing each step with a tiny, delicious treat and calm praise. It also cautions against using distraction, such as smearing peanut butter to keep a dog busy while you sneak a trim. The concern is that tricking your dog can damage their trust in the process.
That distinction matters. The treat should follow the handling as a reward, so your dog learns “paw touch means good things,” rather than covering up something they’d otherwise object to.
Two Concepts That Make This Work
Stay under threshold
The plan above is a form of desensitization and counterconditioning. The Animal Humane Society describes desensitization as exposing an animal to a trigger starting at a very low intensity, and counterconditioning as teaching a different response to it, paired with something your dog loves.
The key rule is staying below your dog’s “threshold”: the point where fear kicks in. Ideally, the fearful reaction never happens during training at all. Trembling or tensing up means you’ve moved too fast, so go back to an easier step.
Give your dog a “start button”
Many force-free trainers take this a step further with cooperative care. The idea is to teach a “start button” behavior, such as resting the chin on your hand or a cushion, or lying on one side. Trainer Vanessa Charbonneau explains that when the dog holds the position, it’s a green light to continue; the moment the dog leaves it, you stop immediately.
To start, reward your dog for holding a chin rest for a few seconds. Then raise your other hand slightly. If your dog stays, reward. If they move away, withdraw your hand right away. Over time, your dog learns they can say “pause” without growling or snapping, and the goal is a dog who feels in control of the pace.
Doing the Actual Trim Safely
Once your dog is comfortable, the trim itself is fairly simple:
- Find the quick. The quick is the living part of the nail with blood vessels and nerves. On light nails it shows as pink. On dark nails, the AKC suggests watching for a chalky white ring on the cut surface, which signals you’re getting close.
- Take tiny bits. VCA recommends shaving off small amounts repeatedly until you find the stopping point, rather than one big cut.
- Clip straight across at the tip. The AKC advises trimming only the tip.
- Keep styptic powder nearby in case you nick the quick. The AKC recommends having it on hand.
Clippers or a grinder?
The AKC says both are safe when used correctly. Some dogs tolerate the buzz of a grinder better than the squeeze of a clipper, and others are the opposite. If your dog fears one, try desensitizing to the other.
How Often Should You Trim?
The AKC says most dogs need a trim every three to four weeks, depending on activity and how fast the nails grow. Dogs who walk a lot on pavement may wear nails down naturally and need trims less often.
Frequent small trims are usually easier on fearful dogs than rare big ones. A single nail a day still adds up to a full set within a week.
Track Your Dog’s Comfort Level
Progress with handling fears is gradual, and a log helps you avoid moving too fast. Use the step numbers from the table above.
| Date | Step practiced (1–6) | Session length (min) | Stress signals seen | Nails trimmed |
|---|---|---|---|---|
If the “stress signals” column fills up, go back a step. If it stays empty for three sessions in a row, you’re ready to move forward.
Wrapping It Up
Nail trim fear fades when handling becomes predictable and rewarding. Start with shoulder and paw touches, introduce tools slowly, trim one tiny bit at a time, and stop at the first stress signal. For fearful dogs, think in weeks, not minutes.
If your dog’s fear is intense, or they growl or snap, talk with your vet. Some dogs benefit from working with a veterinary behaviorist or a trainer who uses positive methods, like the ones in our clicker training guide. For dogs who must be handled before they’re ready, our muzzle training guide can add a layer of safety.
Quick Questions
Can I just let a groomer or vet do it?
Absolutely. Many owners do. Practicing paw handling at home still helps, because a dog who’s comfortable with touch has an easier time at the clinic too.
What if I cut the quick?
Stay calm, apply styptic powder with gentle pressure, and end the session on something easy and rewarding. Take smaller bits next time.
My dog panics at the grinder sound. What now?
Start with the grinder turned on in another room while your dog eats or gets treats. Bring it closer over several sessions before it ever touches a nail.
Is it okay to hold my dog still?
Gentle support is fine for a relaxed dog. Forcibly restraining a frightened dog usually makes future trims harder, so work on desensitization instead.
Sources
- VCA Animal Hospitals: Taking the Stress Out of Nail Trimming for Dogs
- American Kennel Club: How to Trim Your Dog’s Nails Safely
- Purdue University Canine Welfare Science: Fear Free Nail Trims
- Animal Humane Society: Counter Conditioning and Desensitization
- Sit Pretty Behavior & Training (Vanessa Charbonneau): Start Button Behavior for Cooperative Nail Trims